Peel-and-Stick Magic for Kitchens and Bathrooms

Today we dive into renter-friendly peel-and-stick makeovers for kitchens and bathrooms, proving landlords can smile while spaces still feel personal and joyful. Explore reversible backsplash sheets, countertop wraps, vinyl floors, and smart finishes that handle steam, splashes, and weeknight cleanup. Get step-by-step methods, realistic budgets, and stories from tiny apartments and shared homes. Ask questions, swap ideas, and post photos of your progress so everyone can learn from real successes, helpful stumbles, and surprisingly easy, deposit-safe upgrades.

Plan, Prep, and Permission

Great results start with a careful plan that respects your lease and your daily routines. Double-check clauses about adhesives, wall finishes, and flooring, then gather measurements, lighting notes, and moisture concerns. A quick conversation with your landlord often earns goodwill, especially when you emphasize removability. Use daylight to assess surfaces, identify problem corners, and document existing scuffs. Clear timelines, simple tools, and a realistic weekend schedule keep energy high, mess low, and your confidence solid throughout installation and future removal.

Choosing the Right Films, Tiles, and Papers

Compare thickness, adhesive strength, and water resistance, prioritizing vinyl options for bathrooms and high-splash kitchen zones. Removable wallpaper is excellent for dry upper walls away from direct spray. Check manufacturer temperature ranges, especially near ovens and dishwashers, and confirm compatibility with lightly textured paint or tile. Order swatches to evaluate color under your lighting. Touch the surface to gauge durability and scratch resistance, then rub with a damp cloth. Reliability here prevents surprise edge curl, sticky residue, and disappointing color shifts after a month.

Essential Tools, Safe Hands

Fresh blades are nonnegotiable for clean corners and invisible seams. Use a metal straightedge, self-healing mat, and soft squeegee to avoid scuffs. A level or laser establishes perfect reference lines that keep patterns true across long runs. Keep painter’s tape for temporary hinges, lint-free cloths for wiping dust, and a gentle heat source to relax material around curves. Work slowly, protect fingers, and store blades safely. Good habits protect finishes, prevent slips, and turn tricky cuts into calm, repeatable, confidence-building moves.

Where Quality Hides and How to Spot It

Read independent reviews and watch real-time installation videos to confirm claims about removability and durability. Look for consistent adhesive coverage, clear application guides, and generous sample policies. Reputable makers disclose VOC information and offer detailed installation tips for grout lines and humidity. Check return terms, batch numbers, and color consistency. When possible, test competitor samples side-by-side on a scrap board in your bathroom to mimic steam cycles. A small up-front investment yields fewer regrets, easier maintenance, and better-looking edges month after month.

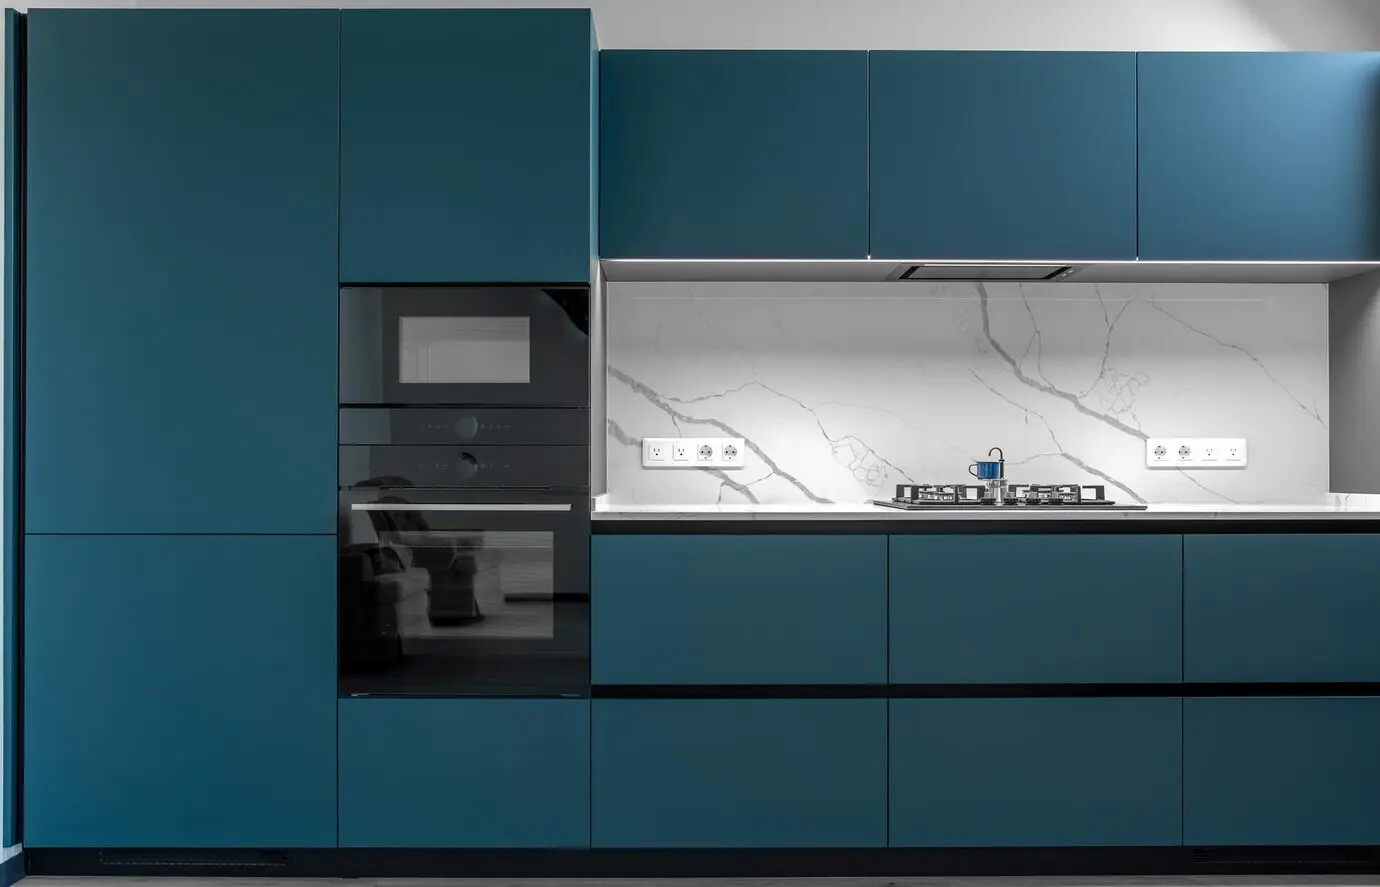
Kitchen Glow-Ups You Can Undo

Elevate cooking spaces with reversible touches that deliver big visual change and zero drama on move-out day. Backsplash sheets instantly add texture and color, while countertop films provide upscale patterns without stone prices. Cabinet and appliance wraps transform dated finishes into cohesive, modern lines. Mix hardware updates with removable liners inside drawers for a double win you will notice every morning. With clear reference lines and patient trimming, your kitchen becomes brighter, easier to clean, and surprisingly photogenic under ordinary evening bulbs.

Floors That Click, Stick, and Lift Cleanly

Select peel-and-stick vinyl tiles rated for bathrooms, then acclimate them to room temperature before installing. Snap chalk lines or use a laser for a dead-center start that minimizes slivers along walls. Scribe around the toilet base with paper templates to perfect curves. Roll seams with firm, even pressure, and leave tiny expansion gaps covered by base trim. Wipe splashes promptly, and periodically warm and re-roll any stubborn corners. When it is time to move, slow removal at a shallow angle preserves the original surface.

Walls and Accents Beyond the Splash Zone

Reserve removable wallpaper for dryer zones above wainscoting or outside direct shower spray. Prime tricky paint with compatible primers if the manufacturer recommends it, then test adhesion and release. Consider narrow vertical panels to stretch ceiling height visually, or use subtle patterns to calm a small powder room. Frame a peel-and-stick backsplash behind the sink with trim for a finished edge. Humidity-friendly choices, steady ventilation, and routine wipe-downs ensure designs stay crisp and bright without curling edges or disappointing color bleed.

Install Like a Pro, Fix Like a Friend

A confident workflow keeps mistakes small and projects relaxing. Establish level reference lines, dry-fit panels, and hinge large pieces with painter’s tape before committing. Peel liners gradually, squeegeeing from the center outward while venting bubbles to edges. Around outlets and corners, pause, breathe, and use light heat to relax film. If something misaligns, lift gently and reset instead of forcing. Troubleshooting becomes simple when you protect surfaces first, expect small adjustments, and keep extra material for future touch-ups or unexpected repairs.

A Smooth Workflow That Calms Nerves

Start with the most visible flat area to build confidence quickly, then move to trickier spots. Keep trash bags close so backing liners do not stick to finished sections. Trim in multiple light passes instead of one risky cut. Use painter’s tape to plan seam locations, especially around corners and appliances. Schedule short breaks, hydrate, and step back often to check alignment under different lighting. These tiny habits guard against fatigue, preserve accuracy, and deliver the tidy, camera-ready finish you imagined on Friday night.

Corners, Outlets, and Curves, Oh My

For outside corners, slightly overlap and warm the edge before rolling it tight; for inside corners, relief-cut a small V to prevent tension. Trace outlet covers on scrap, pre-cut, and press gently around screws to avoid stretching. Curves around sinks or pipes behave better when the material is warm and guided with short, controlled strokes. A flexible squeegee reaches tight spaces without scuffing ink. Patience wins here, turning intimidating details into satisfying victories that withstand everyday cleaning, splashes, and curious houseguests tugging at edges.

Care, Durability, and a Graceful Goodbye

Xamozorovuzanerototilofo
Privacy Overview

This website uses cookies so that we can provide you with the best user experience possible. Cookie information is stored in your browser and performs functions such as recognising you when you return to our website and helping our team to understand which sections of the website you find most interesting and useful.